This tutorial walks you through connecting Visual Studio Code to a remote JupyterHub server so you can edit and run Jupyter notebooks locally while executing code on a remote kernel. The example uses the CloudPendulum platform at Chalmers University, but the same steps apply to any JupyterHub deployment.
What you will learn: how to install the JupyterHub extension, authenticate with a remote server, select a remote kernel, and run notebook cells against it.
Prerequisites
Before starting, make sure you have the following ready:
- Visual Studio Code installed on your local machine
- The Jupyter extension for VS Code (installed automatically with JupyterHub)
- Access credentials (username and password) for the remote JupyterHub server
- The URL of the JupyterHub server you want to connect to
Step 1 — Open Your Project in VS Code
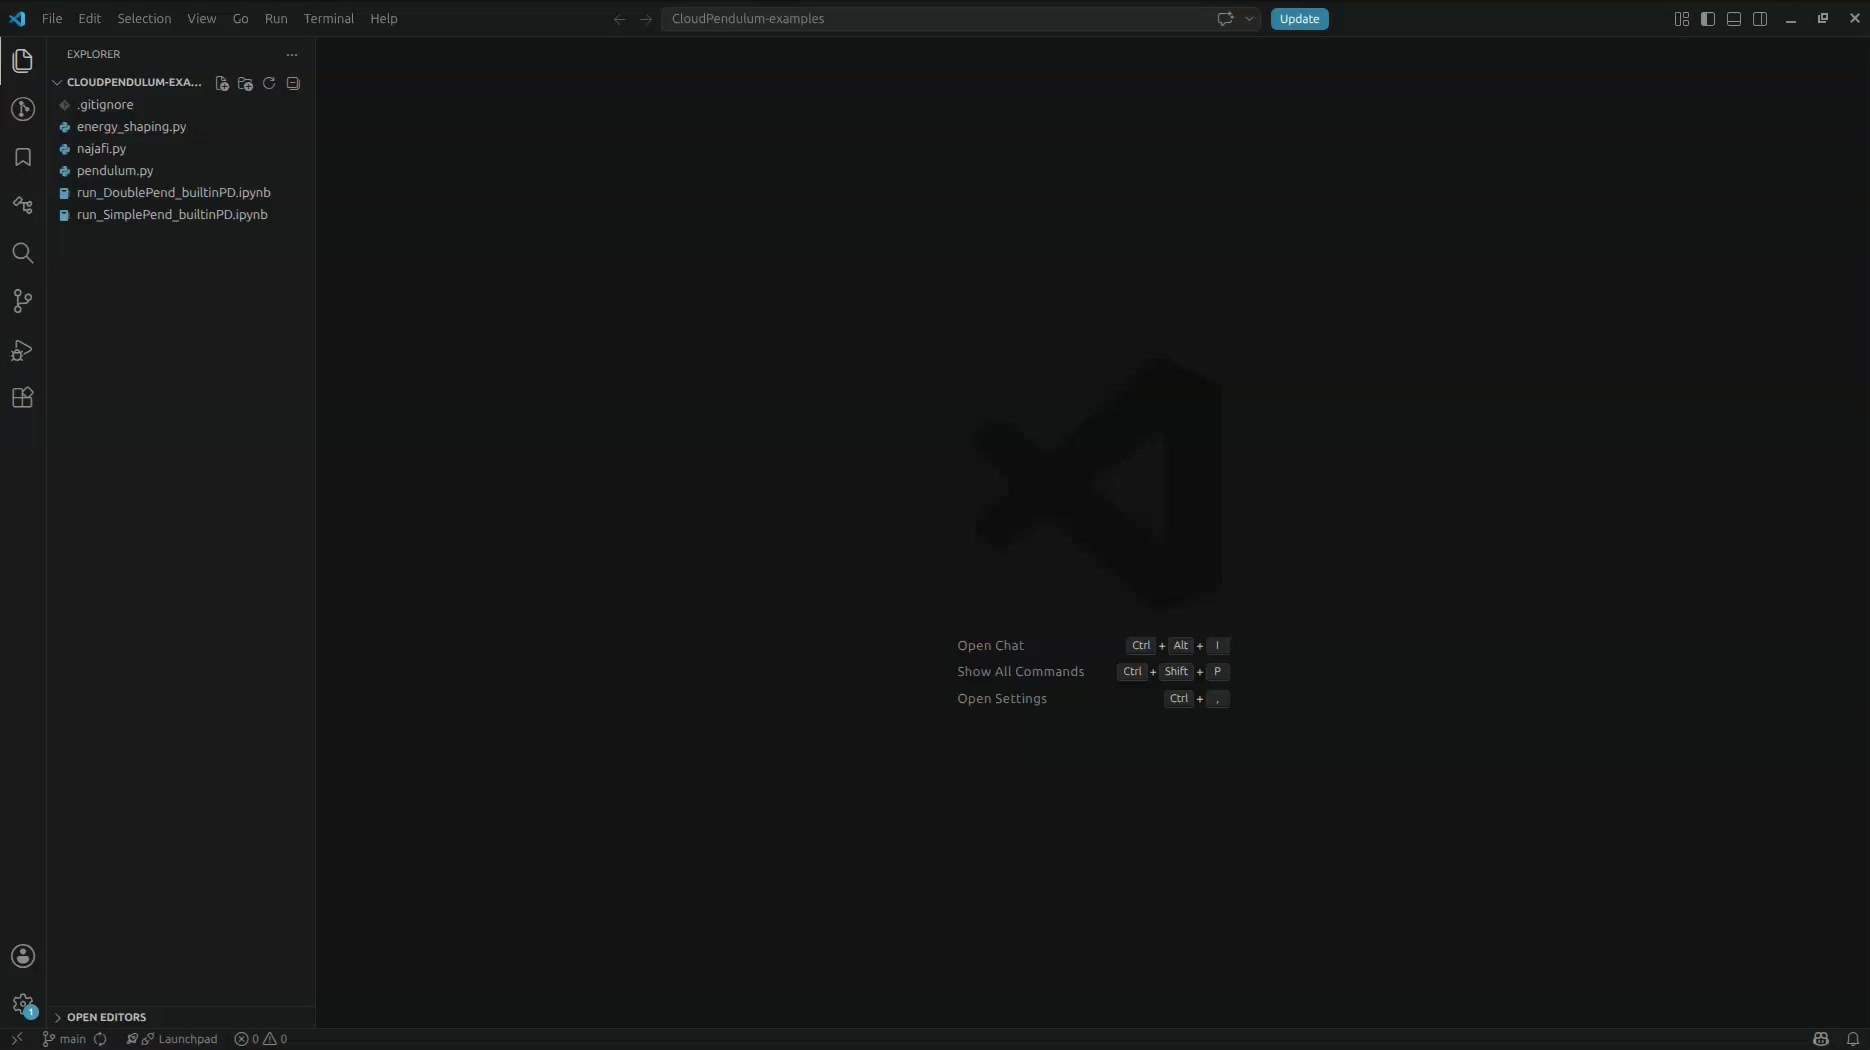
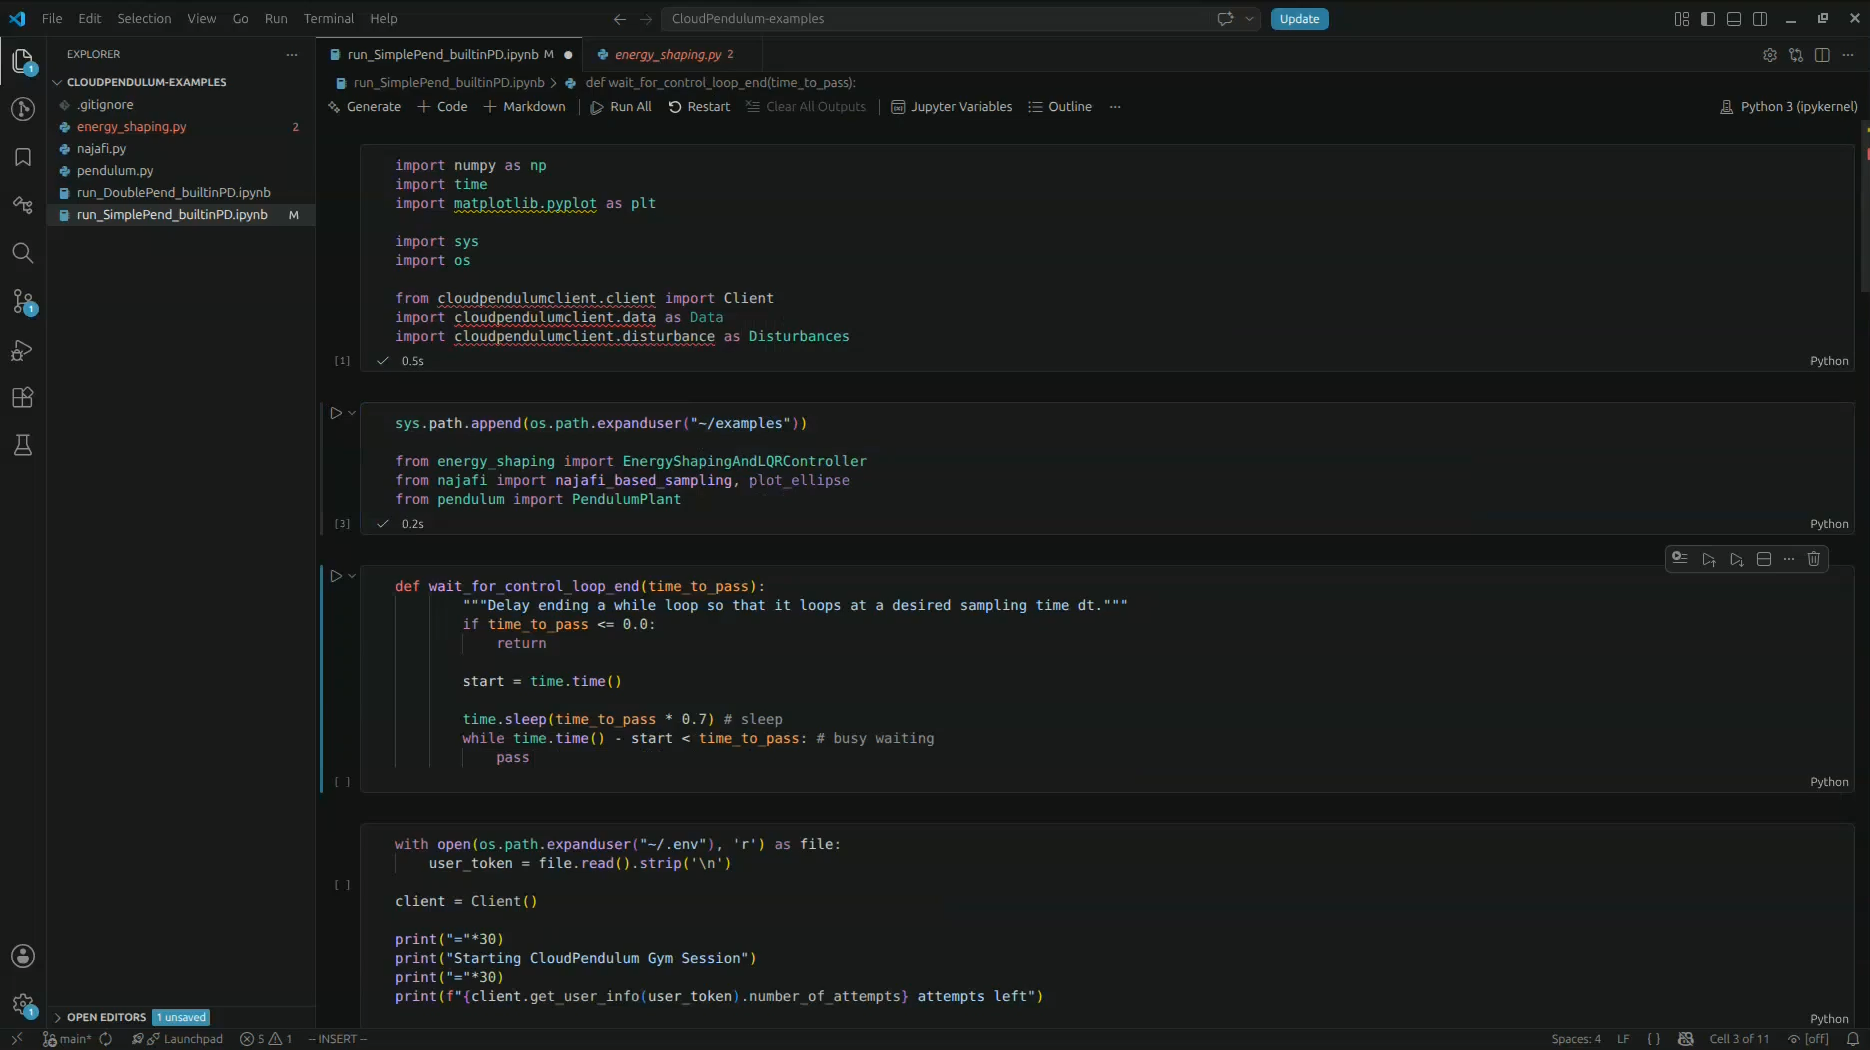
Start by opening your project folder in VS Code. In this example, we have a project called CloudPendulum-examples which contains Python scripts and Jupyter notebooks for controlling a remote pendulum experiment.
The project includes files such as energy_shaping.py, najafi.py,
pendulum.py, and two notebook files:
run_DoublePend_builtinPD.ipynb and run_SimplePend_builtinPD.ipynb.
Step 2 — Install the JupyterHub Extension
Open the Extensions sidebar by clicking the Extensions icon in the Activity Bar (or pressing
Ctrl+Shift+X). In the search box, type
jupyterhub to find the official Microsoft JupyterHub extension.
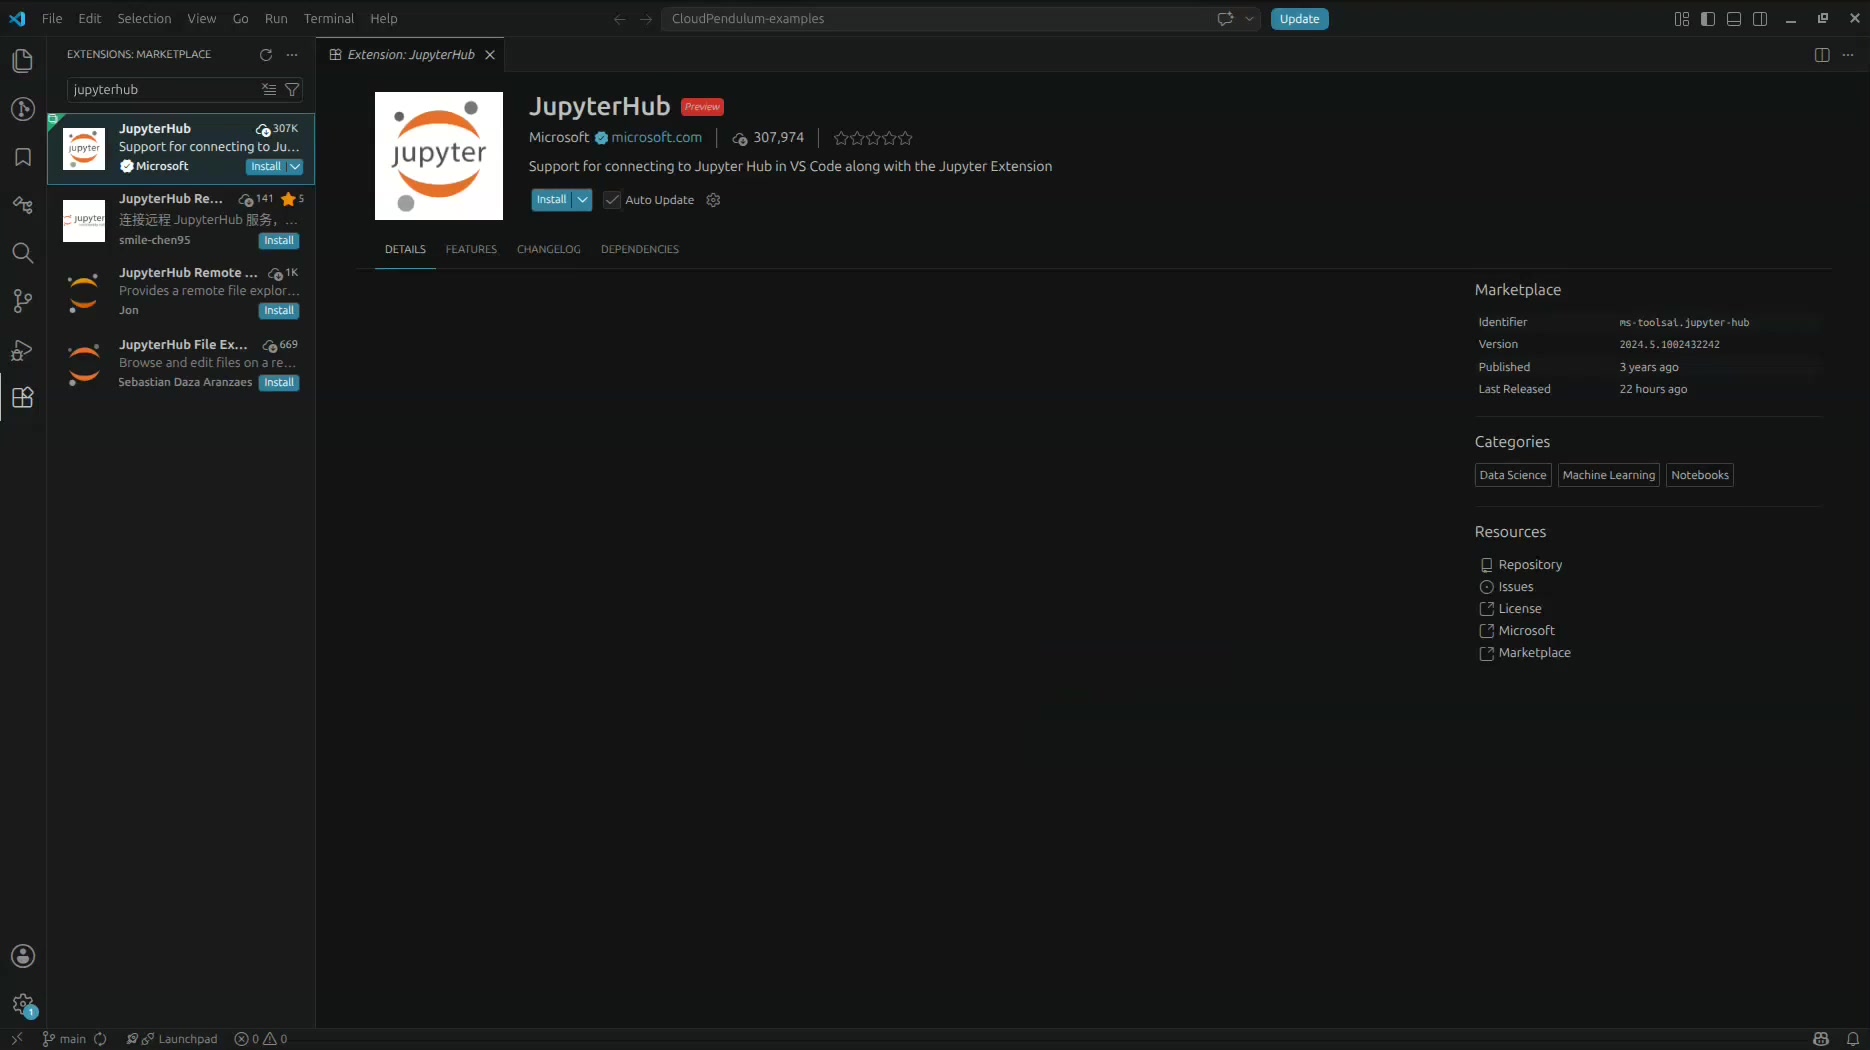
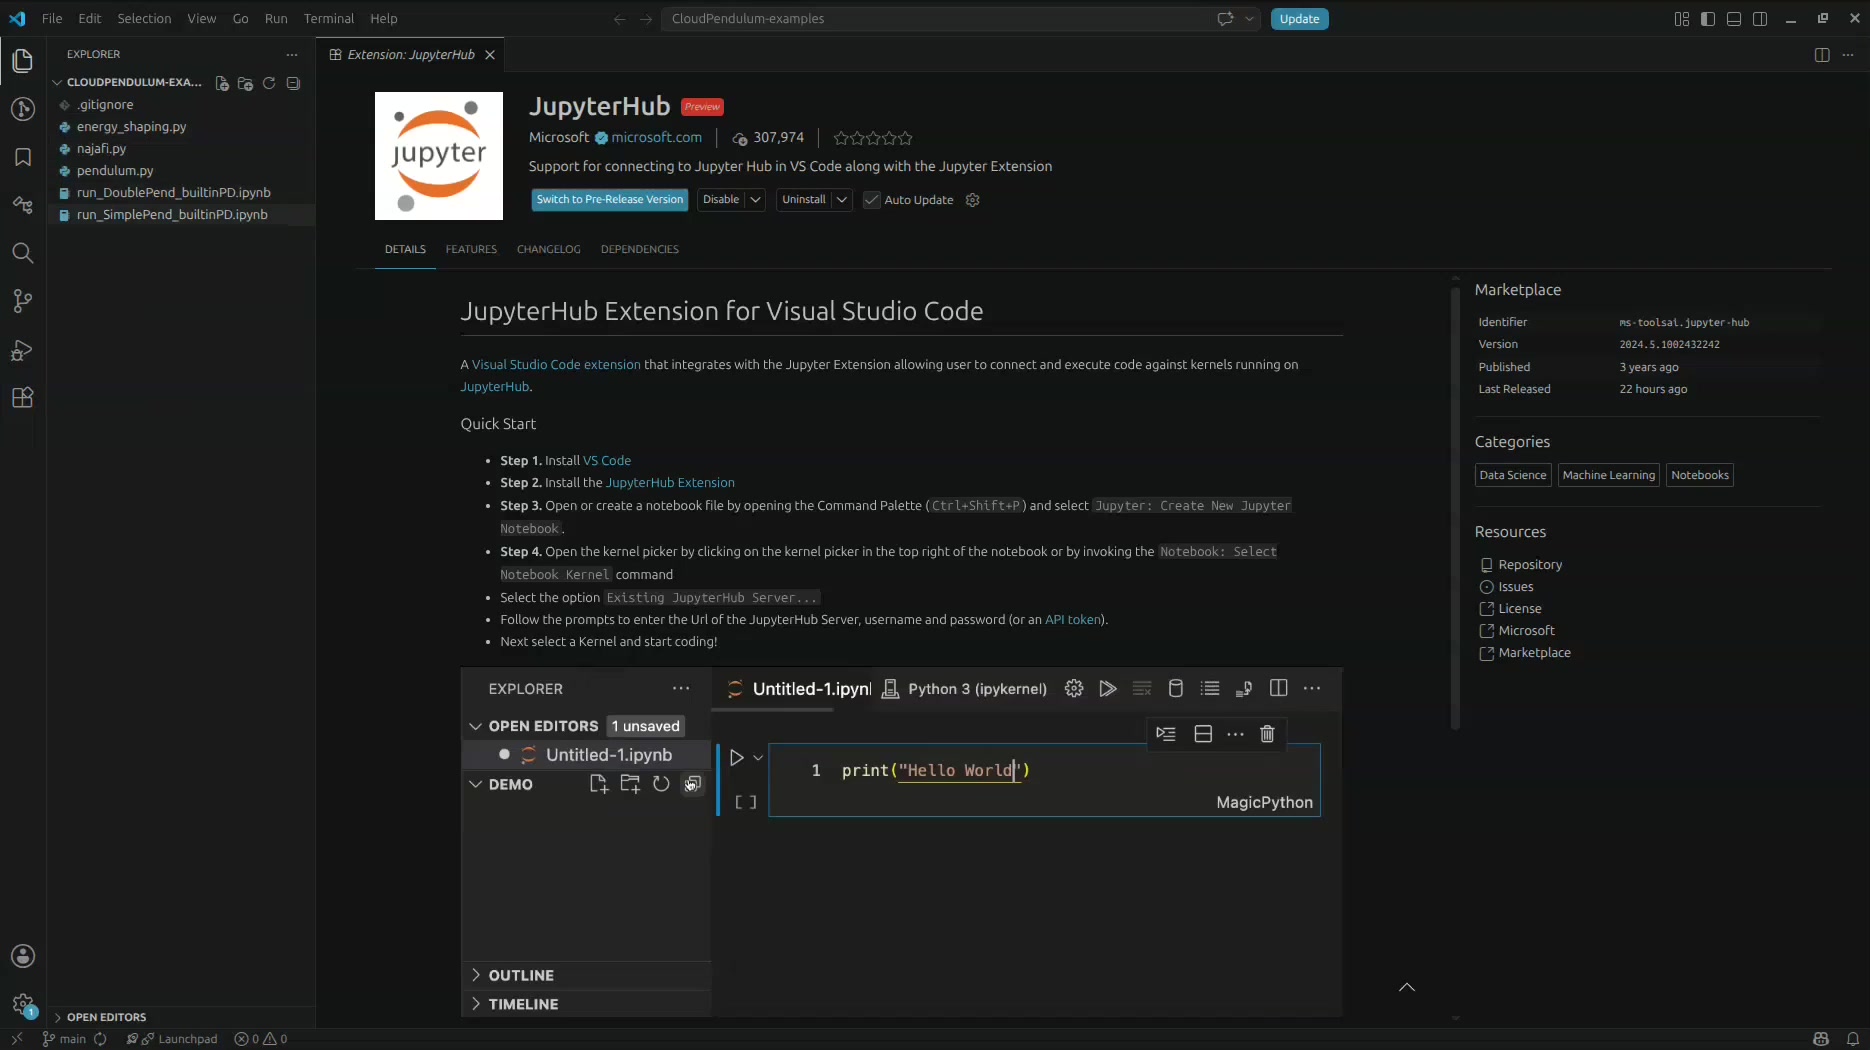
Click the Install button on the “JupyterHub” extension by Microsoft. This extension provides support for connecting to Jupyter Hub in VS Code along with the Jupyter Extension. After installation, the extension page will show a Quick Start guide with step-by-step instructions.
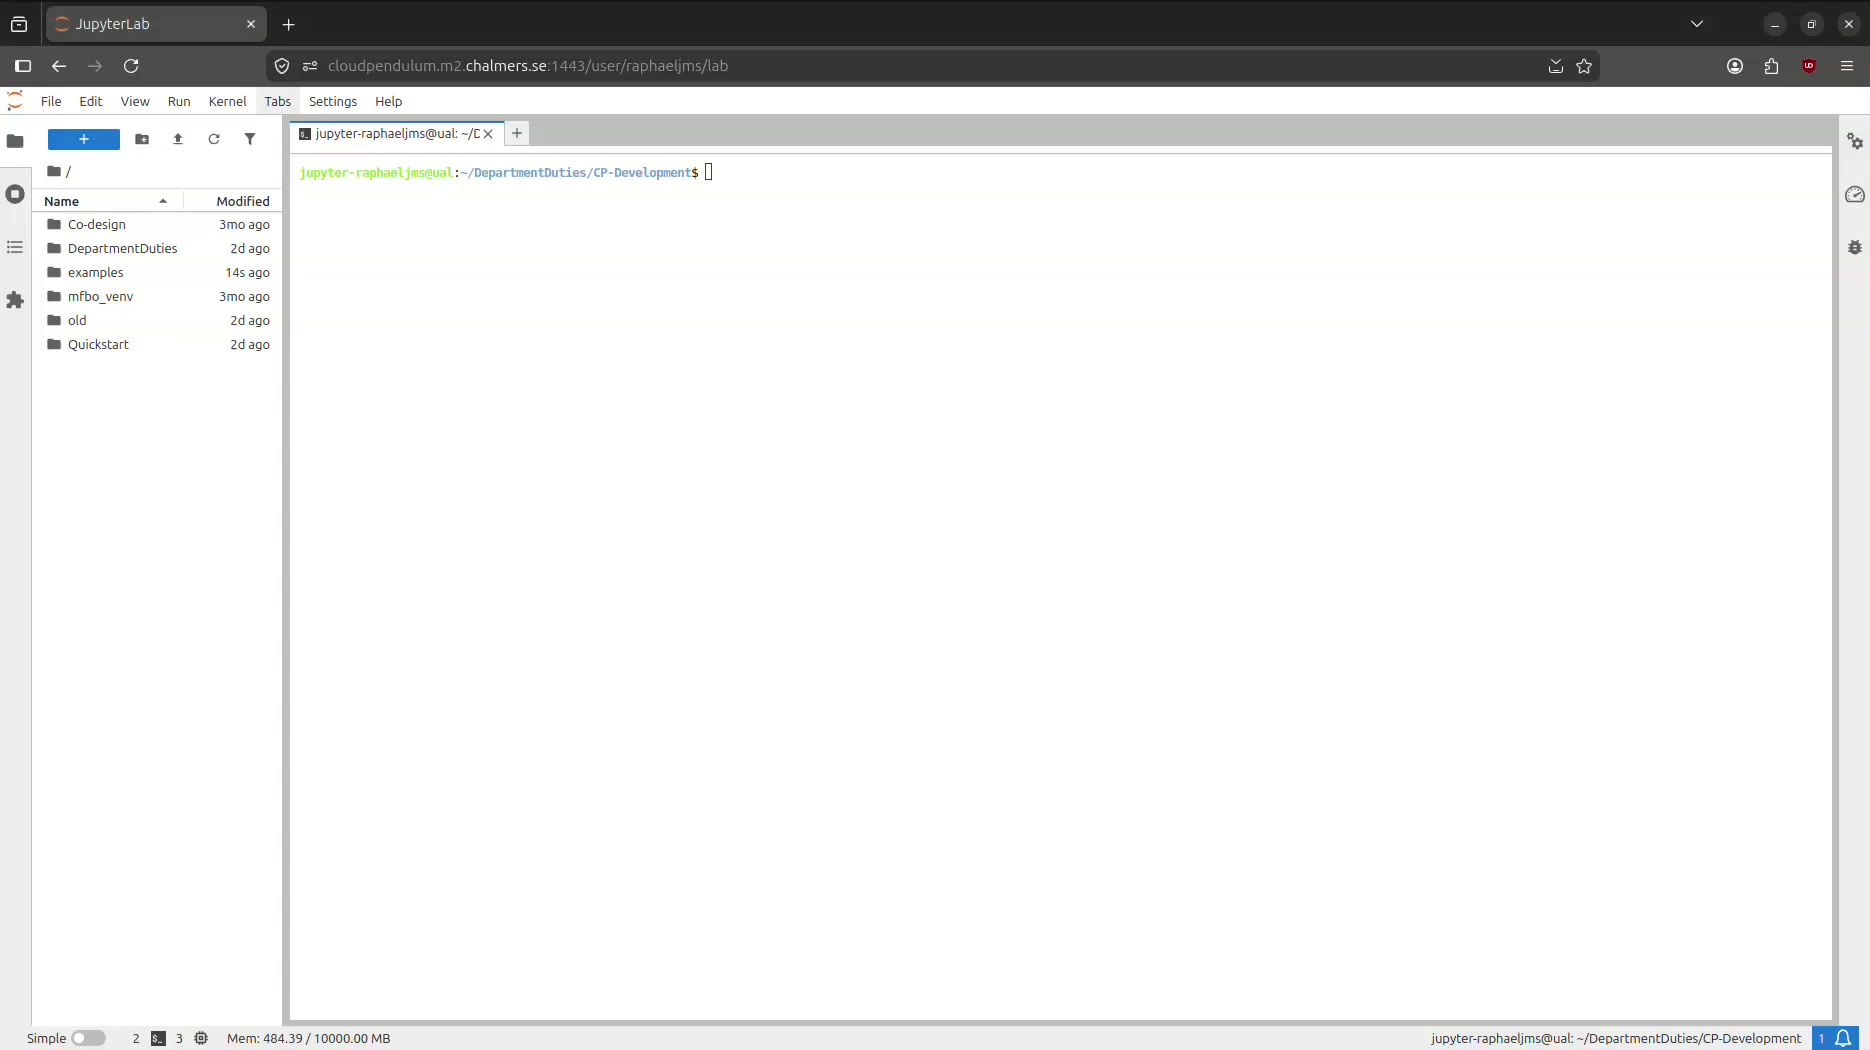
Step 3 — Locate Your JupyterHub Server URL
Before connecting from VS Code, you need to know the URL of your JupyterHub server. Open a browser and navigate to your JupyterHub instance to confirm it is running and to copy the URL. In this example, the server is hosted at cloudpendulum.m2.chalmers.se:1443.
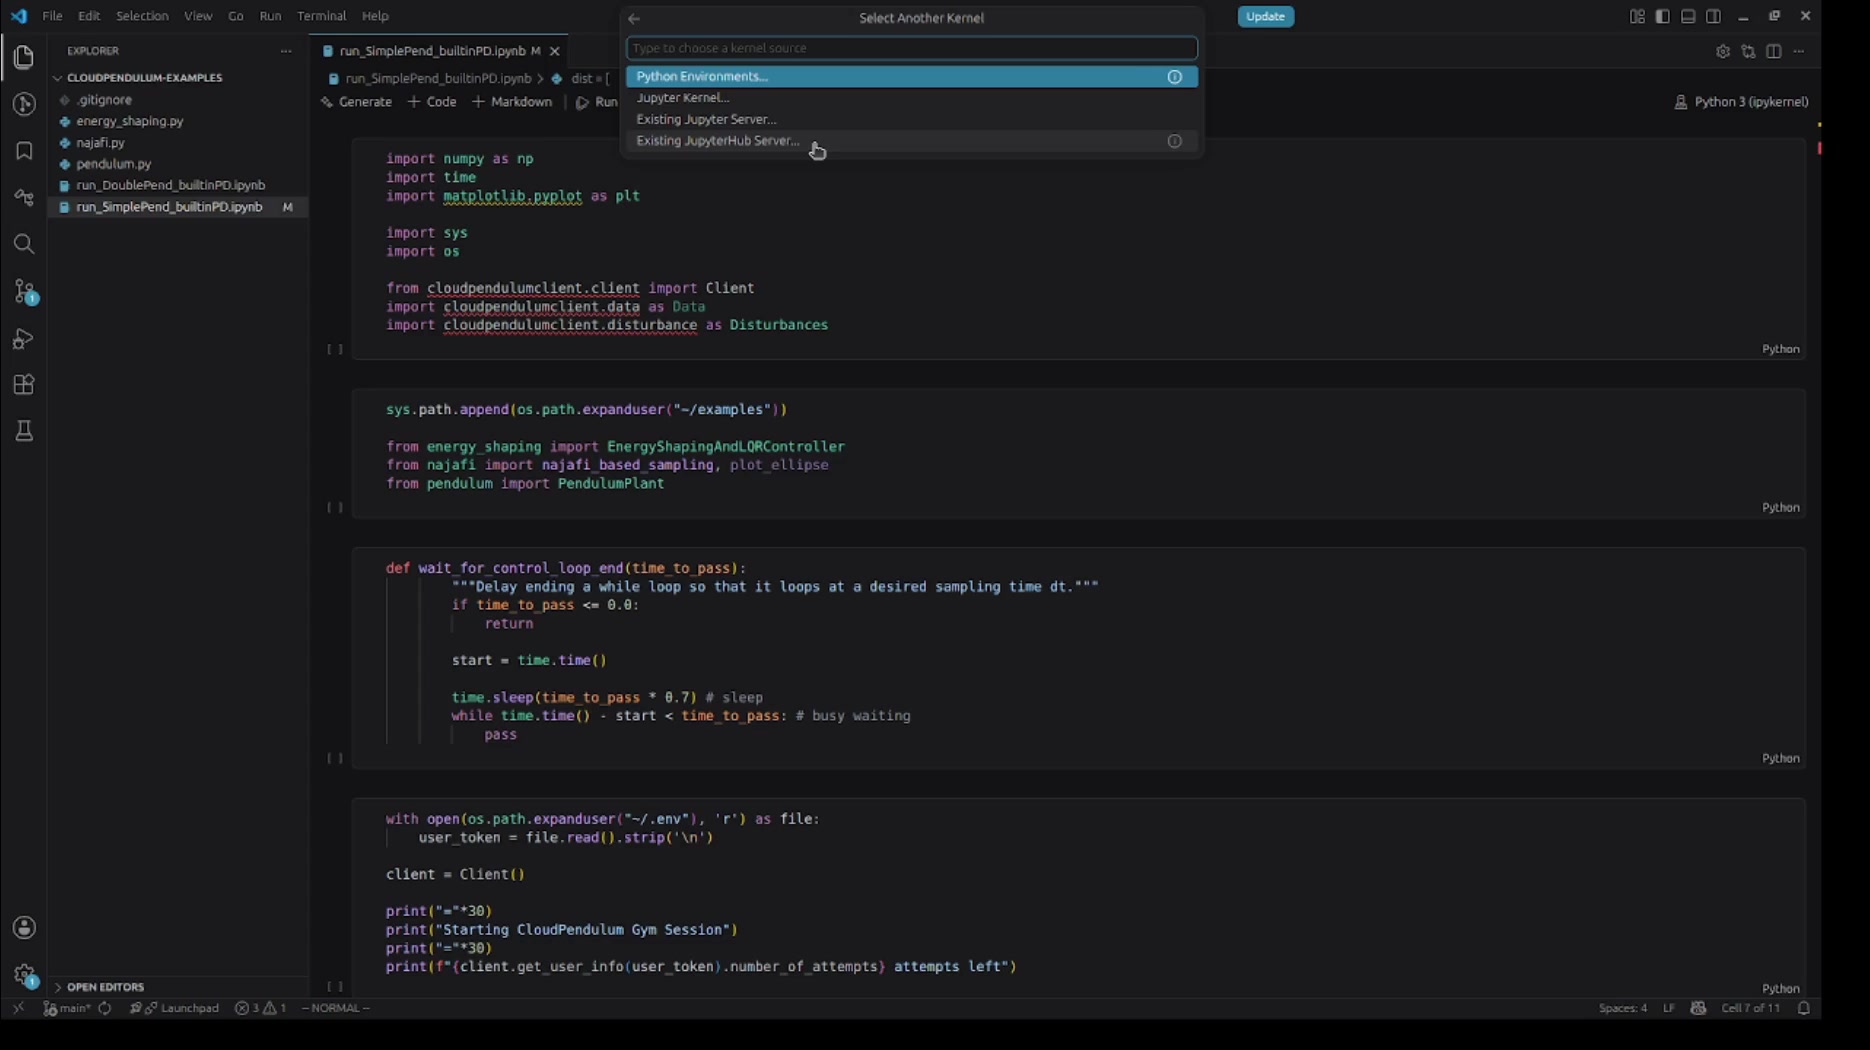
Step 4 — Open a Notebook and Select the Remote Kernel
Back in VS Code, open one of the Jupyter notebook files (e.g.,
run_SimplePend_builtinPD.ipynb). To connect to the remote server, click on the kernel
selector in the top-right corner of the notebook, or use the Command Palette
(Ctrl+Shift+P) and search for
Notebook: Select Notebook Kernel.
In the kernel picker dialog, you will see several options. Select “Existing JupyterHub Server…” to connect to your remote JupyterHub instance.
Step 5 — Authenticate with the Server
After selecting “Existing JupyterHub Server…”, VS Code will prompt you to enter the server URL. Paste the full URL of your JupyterHub server (e.g., https://cloudpendulum.m2.chalmers.se:1443/user/yourusername/lab).
Next, you will be prompted to enter your username and password. Type your credentials and press Enter to confirm each one.
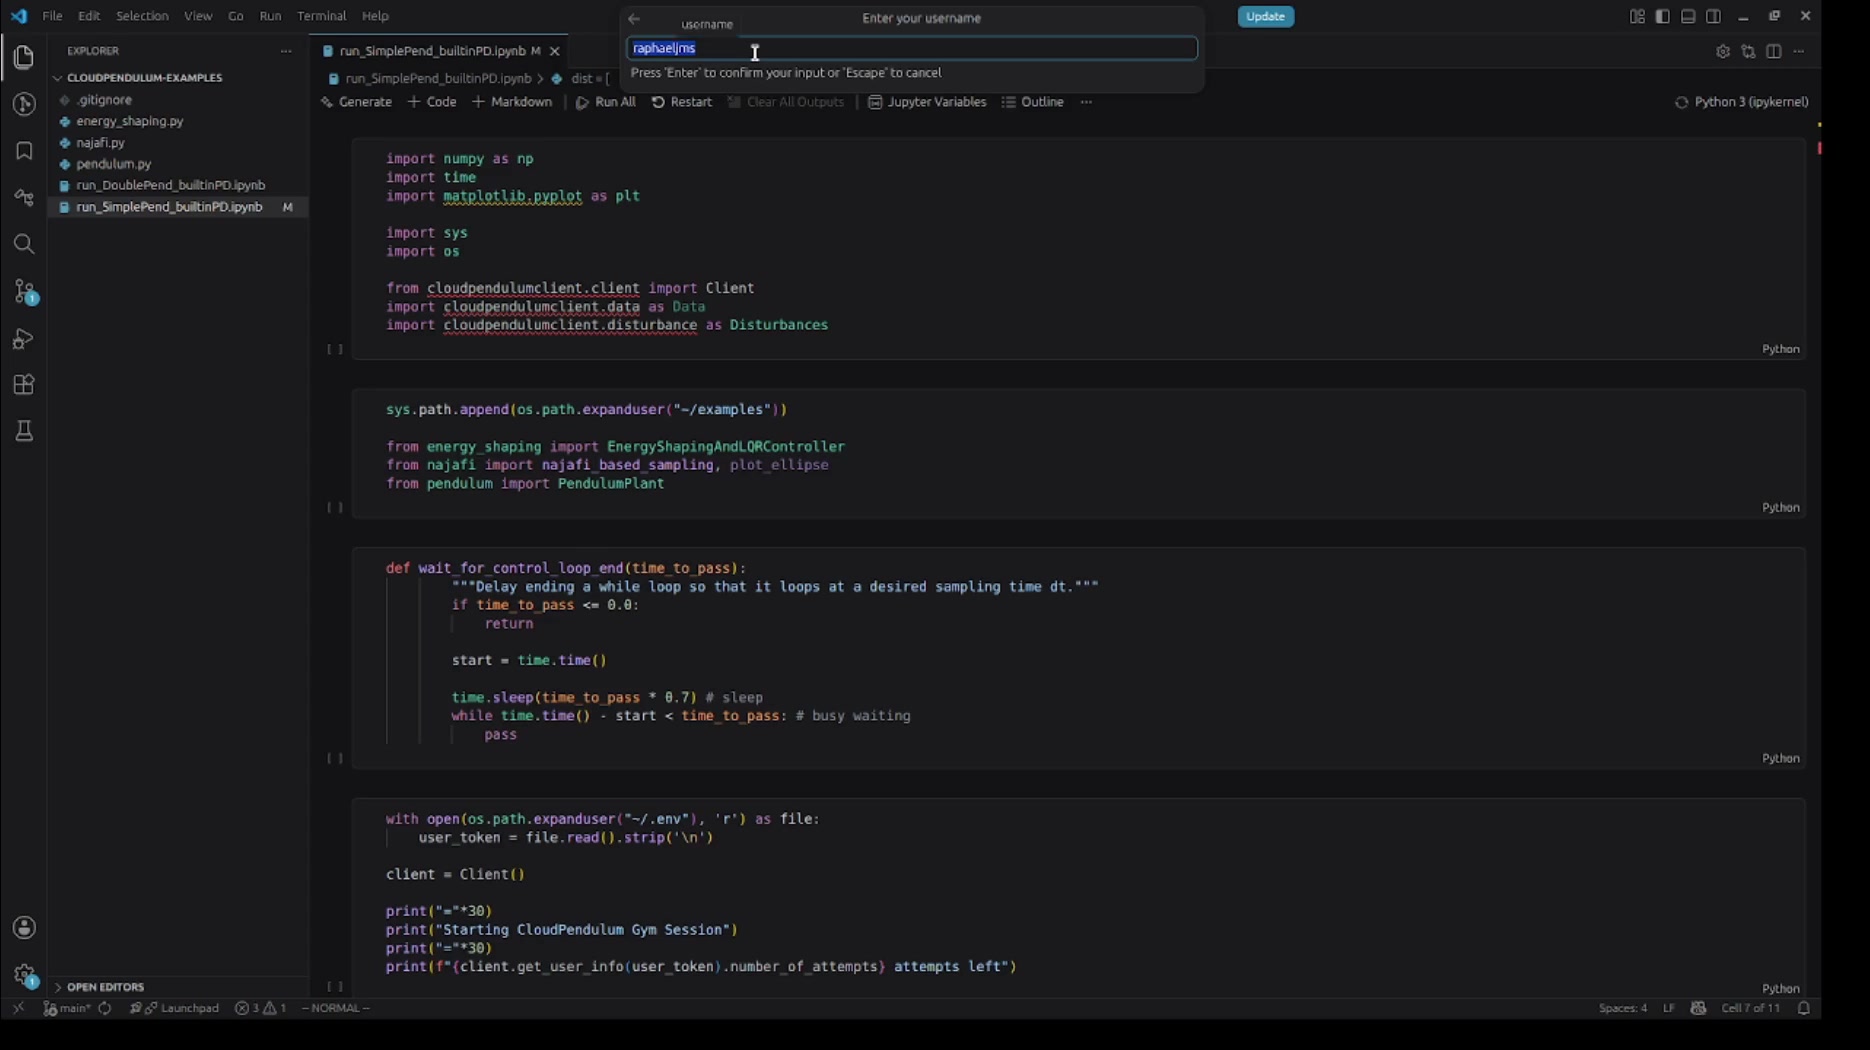
You will also be asked to provide a display name for the server connection (e.g., “CloudPendulumServer”). This is just a label for your convenience so you can identify the server later.
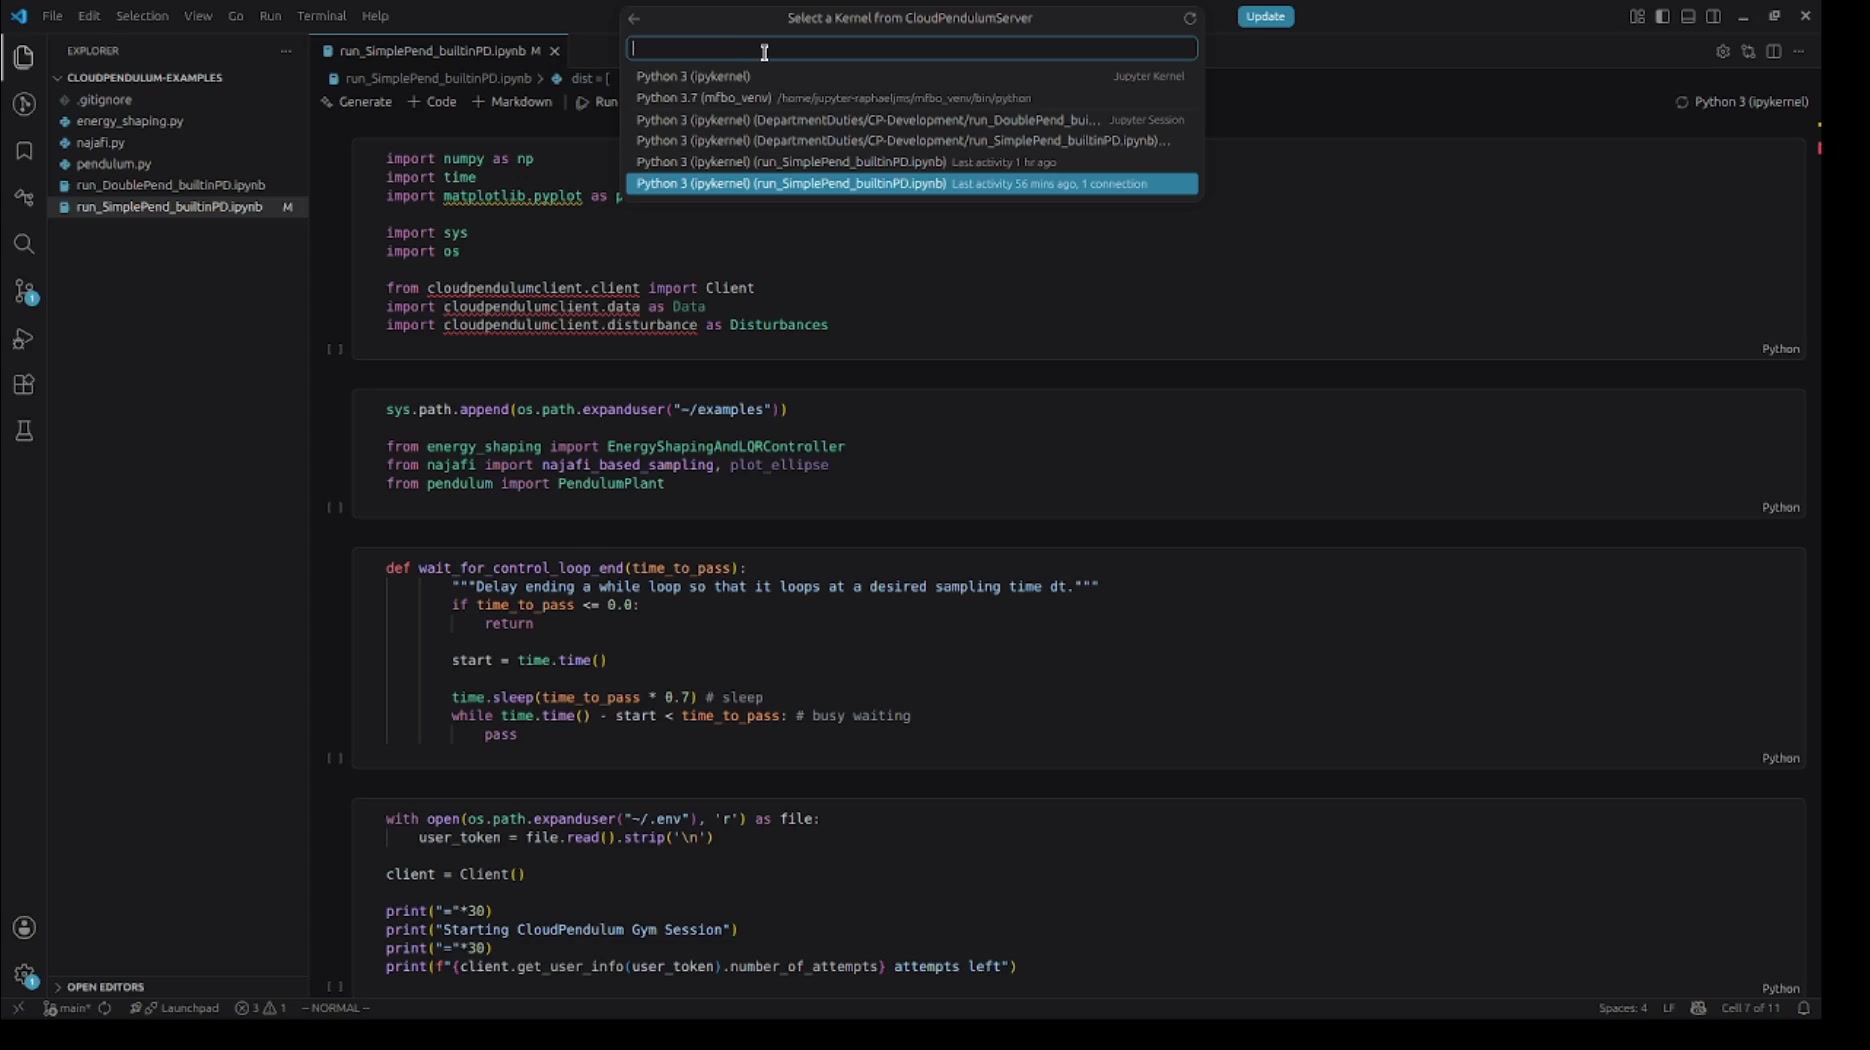
Step 6 — Select a Remote Kernel
Once authenticated, VS Code will show a list of available kernels running on the remote JupyterHub server. You may see multiple kernel options including different Python environments and kernels associated with specific notebooks.
Select the kernel that corresponds to your notebook. In this example, we choose the
Python 3 (ipykernel) kernel associated with
run_SimplePend_builtinPD.ipynb, which shows recent activity and an existing connection.
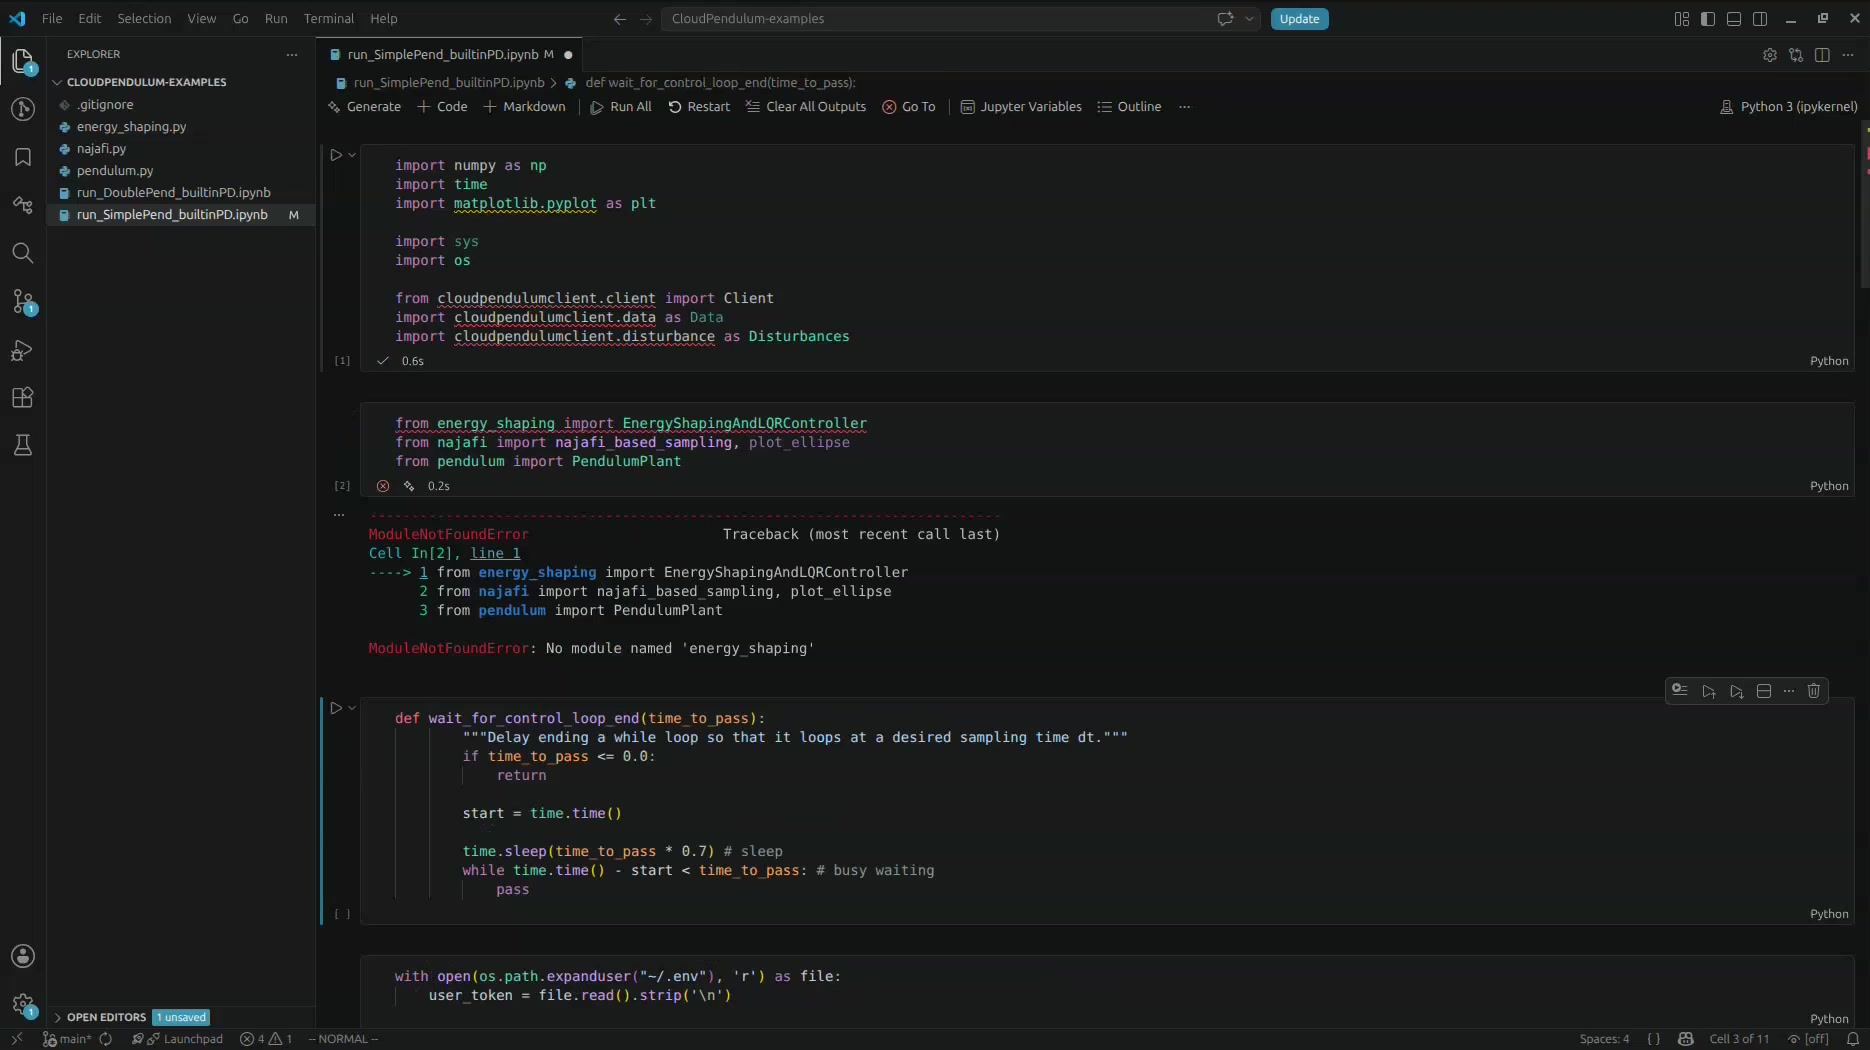
Step 7 — Run Notebook Cells
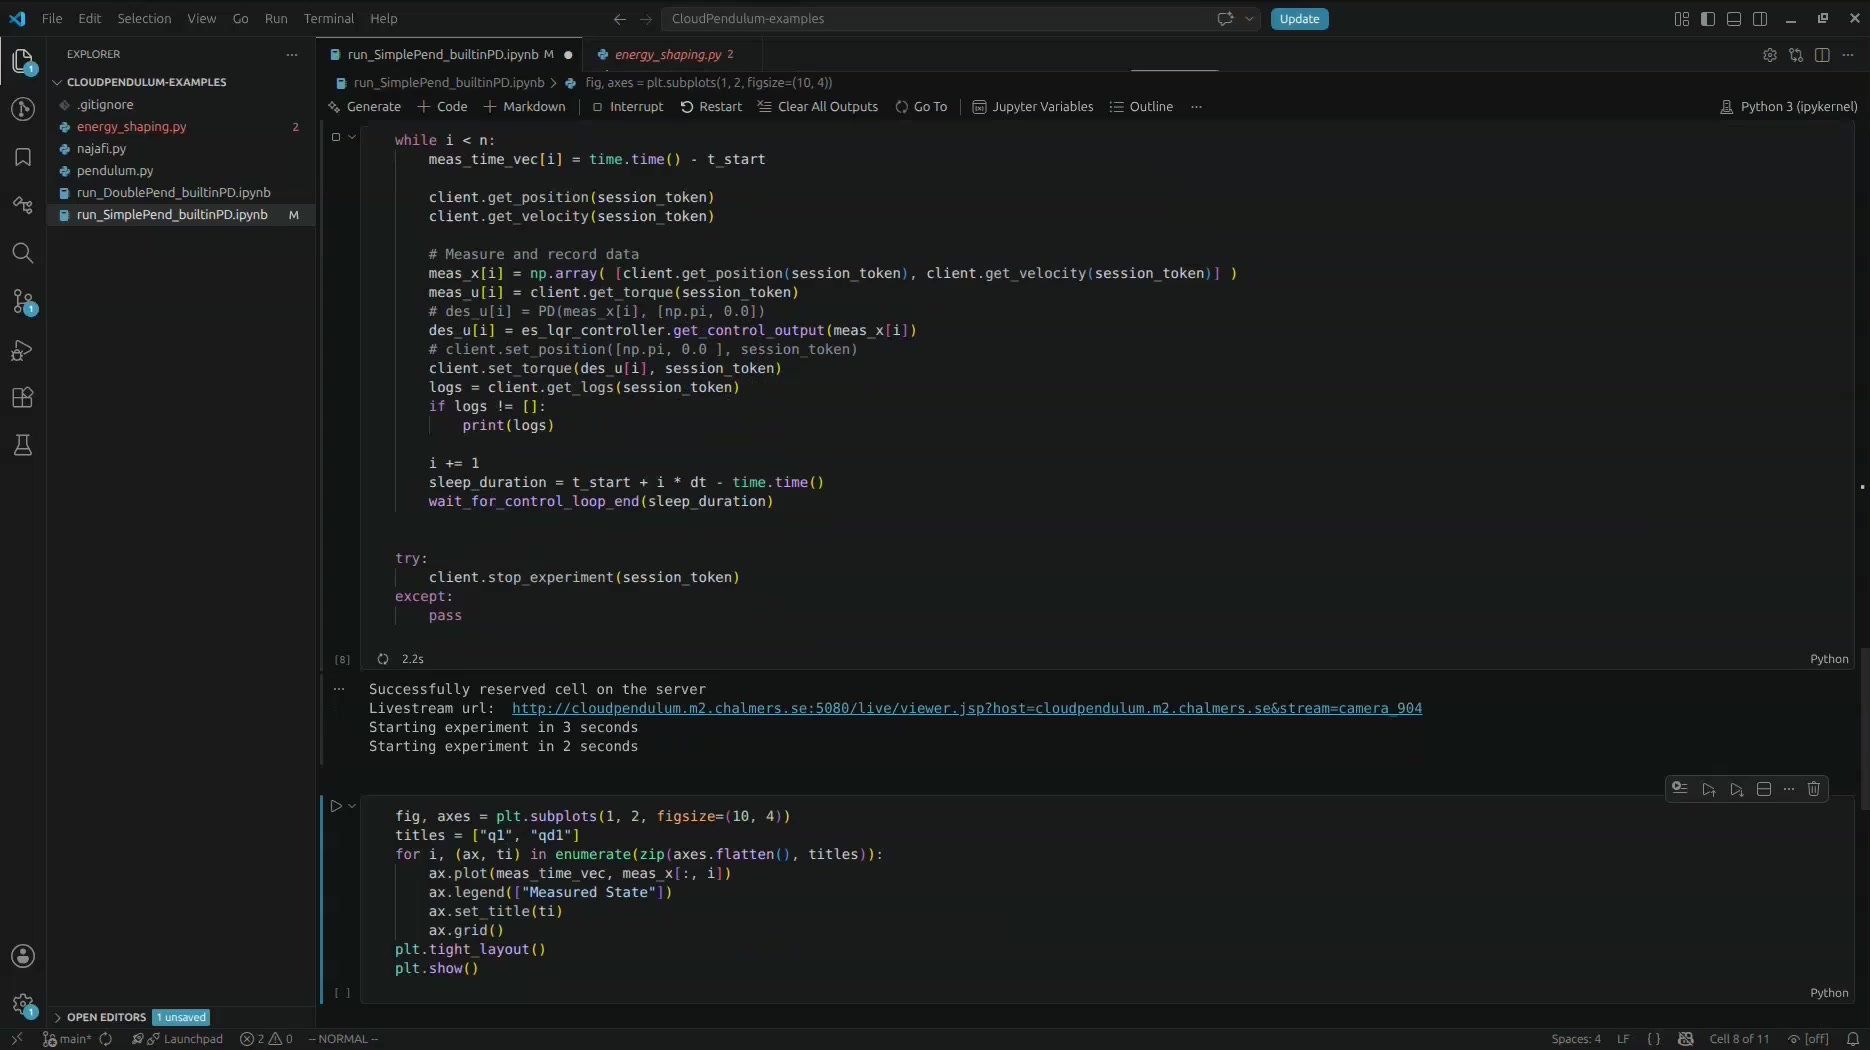
With the remote kernel connected, you can now run cells in your notebook just as you would with a local kernel. The code executes on the remote server, giving you access to its resources, packages, and hardware.
In this example, running the import cells initially produces a
ModuleNotFoundError for the energy_shaping module. This is because the
notebook’s sys.path needs to include the correct directory on the remote server
where the module files are located.
Step 8 — Fix Paths and Run the Experiment
To fix this, copy the files from your local directory to the project folder (say
examples) on the CloudPendulum file browser.

After adjusting the sys.path.append() call to point to the correct directory on the
remote server (e.g., os.path.expanduser("~/examples")), re-run the cells. The imports
should now resolve correctly, and the experiment can be started.
When the experiment runs successfully, you will see output confirming that a cell has been reserved on the server, along with a livestream URL to observe the physical experiment in real time.
Summary
In this tutorial, you learned how to connect Visual Studio Code to a remote JupyterHub server using the JupyterHub extension. The key steps are:
- Install the JupyterHub extension from the VS Code Marketplace.
- Open a Jupyter notebook and select “Existing JupyterHub Server” from the kernel picker.
- Enter the server URL, username, and password to authenticate.
- Choose the appropriate remote kernel from the list.
- Run your notebook cells, which now execute on the remote server.
This workflow allows you to leverage VS Code’s powerful editing features and extensions while running code on a remote server connected to CloudPendulum hardware.