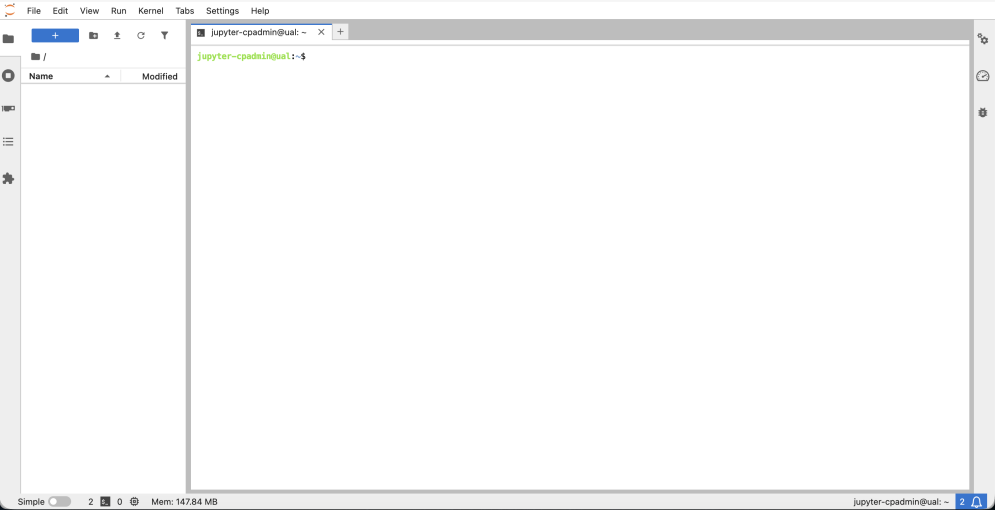
Click on the Terminal button on the user dashboard called "Launcher". It appears under the "Other" section.
Terminal view on JupyterHub
Visit our github page (https://github.com/cloudpendulum/) and clone the example that you would like to use using the terminal command: git clone https://github.com/cloudpendulum/sp_energyshaping_lqr.git
The repository should appear on the file browser on the left as shown below:
Clone your repository
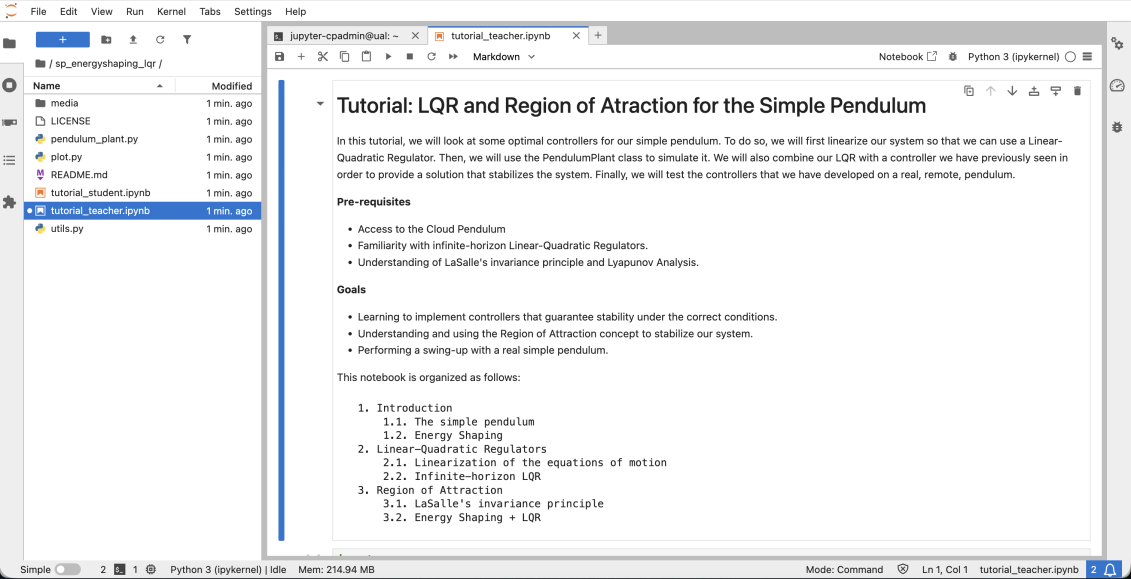
Double-click the repository folder on the left and open the Python Notebook with extension ".ipynb".
Jupyter Notebook
Run the cells by pressing Shift + Enter. The cells where the animation of the simulation is being generated (e.g., HTML(anim.to_html5_video())) might be a bit slow. It is not the simulation that is slow but the video generation for embedding into HTML.
Simulation and Animation
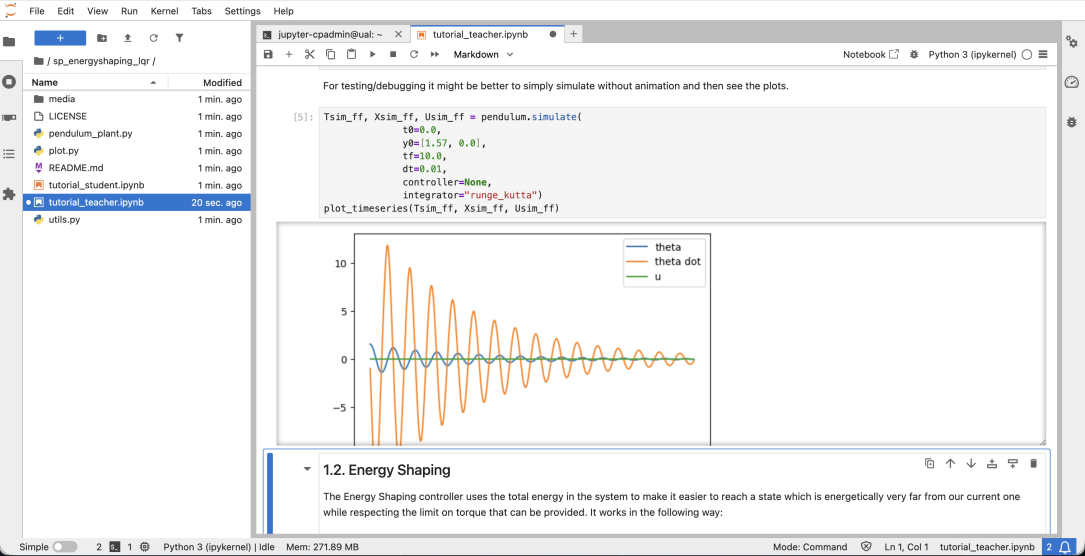
If you do not have the patience, you can skip those cells which use the pendulum.simulate_and_animate() function and instead use the pendulum.simulate() function. That should work instantly.
Simulation only
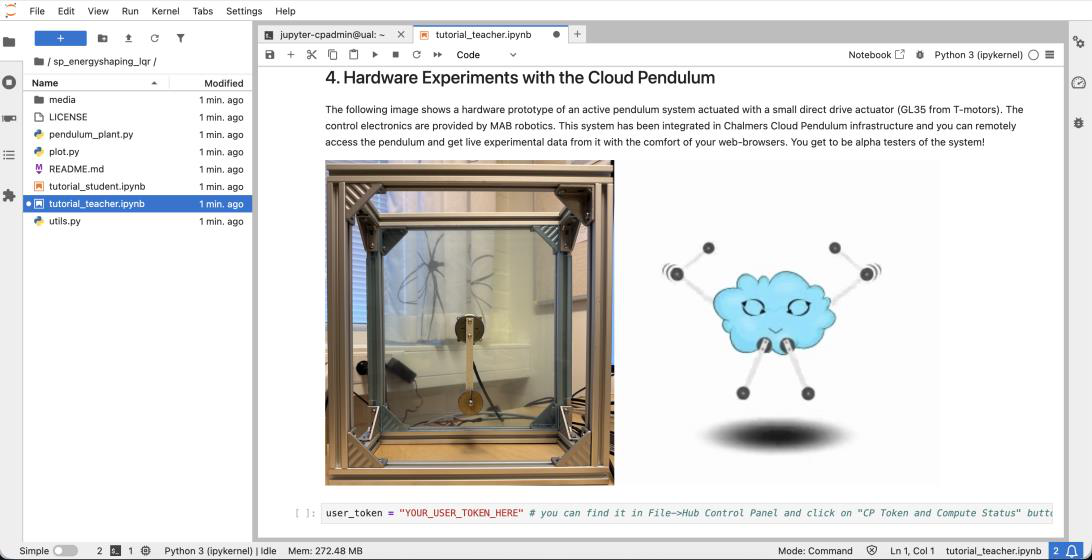
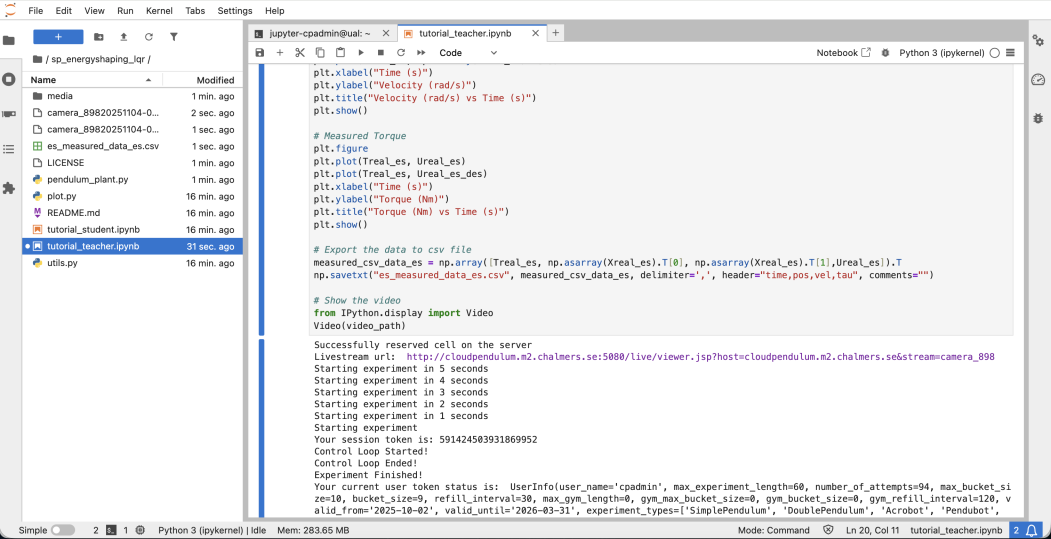
Eventually, you will arrive at the remote hardware experiments section which looks like this:
User Token for Hardware Experiments
You should replace the text "YOUR_USER_TOKEN_HERE" with your user token. You can find it by clicking on File -> Hub Control Panel and then by clicking on the button "CP Token and Compute Status".
When you run the cell containing pendulum.run_on_hardware() function, you will get connected to the requested hardware and you will be provided with a weblink to watch the livestream.
Output of run on hardware function
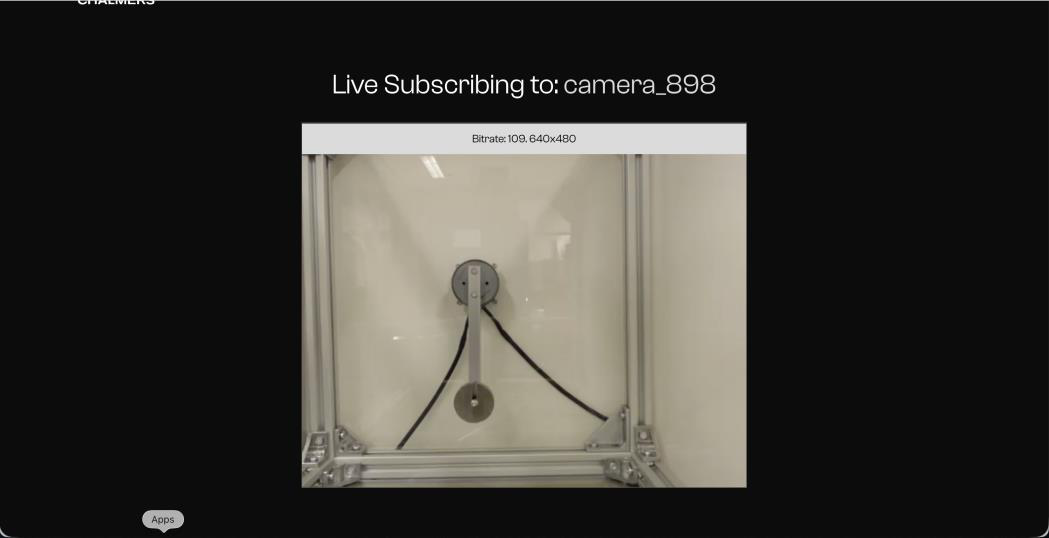
In this function call, you can adjust the preparation time parameter (defaults to 5 seconds in this case) if you need more time to open the livestream link. You should see the livestream of your experiment like this:
Camera livestream view on a browser tab
At the end of the experiment, you will see the plot of the sensor and command data along with a time clipped video of your experiment which you can watch repeatedly and analyze.
Hardware experiment results